How to Import an Org Chart from a Spreadsheet: A Five-Step Workflow
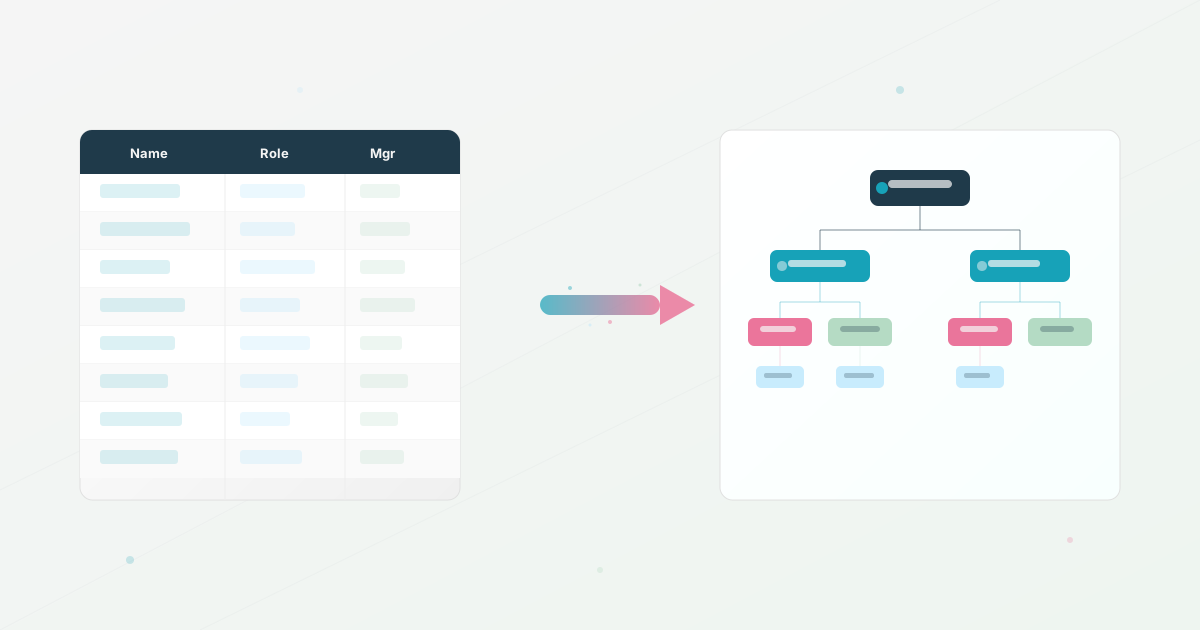
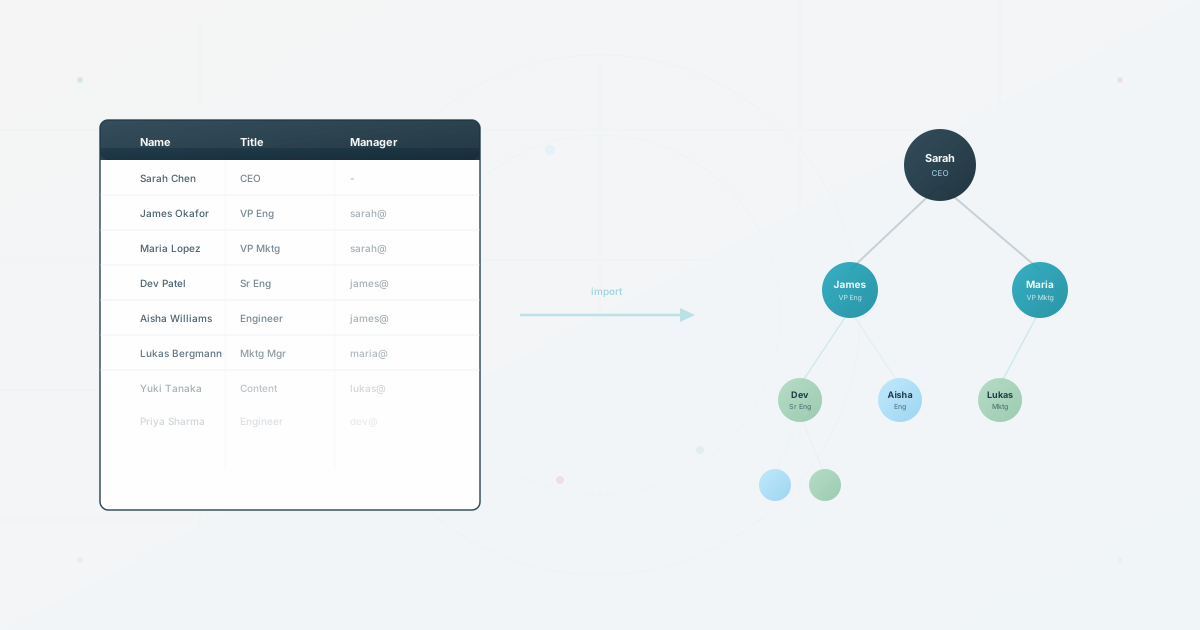
Your employee data may already exist in a spreadsheet or HRIS while the org chart lives in PowerPoint. If the two are maintained separately, every joiner, leaver, or role change can turn a small data change into a recurring presentation task.
Data and visualization live in separate tools, and the gap between them is where recurring HR work accumulates.
If the goal is a maintainable people directory, start by testing an import from the spreadsheet rather than drawing the boxes first.
Choose the source workflow that matches your file: use the Excel walkthrough or the Google Sheets walkthrough. If you need a blank starting point, compare the org chart templates by company size before you prepare the CSV.
Why Drawing Tools Are the Wrong Starting Point
Your first instinct may be to open PowerPoint or Lucidchart and start placing boxes. Three risks to test before doing that:
It separates data from visualization. The employee data lives in your HRIS or a spreadsheet. The org chart lives in a drawing tool. Each change creates two places to review, so drift becomes easier to introduce.
It becomes difficult to defend. Drawing boxes may be fine for a one-off snapshot. Once people join, leave, or change managers, the work is repeated by hand and it becomes hard to prove which version is current.
It’s also fragile. Move one box and the lines break. Add a person and you have to rearrange an entire branch. Anyone who has wrestled with PowerPoint’s connector arrows at 11pm before a board meeting knows this feeling intimately.
The alternative: treat the org chart as a view of data. If the chosen tool accepts the fields and relationships in your source, it can generate the visual hierarchy for you.
The Fields to Validate First
You may already have most of the data you need. An HRIS or shared Google Sheet often contains names, titles, managers, and sometimes stable employee IDs, but confirm the field names and export permissions before designing the import.
HumanMap’s current employee import wizard requires two fields: external_employee_id and fullName. Add title and external_manager_id when you want a useful reporting tree rather than a flat employee list. Other tools may require different names or fields, so treat this as the current HumanMap mapping, not a universal CSV standard.
A practical HumanMap CSV
A CSV file with these fields is a practical HumanMap starting point. The first two are required by the current wizard; the latter two are recommended for a readable hierarchy.
The rows below are illustrative sample data, not a customer example or real employee record.
| Column | Required by current HumanMap wizard? | Purpose |
|---|---|---|
| external_employee_id | Yes | Stable identifier used to match rows across imports |
| fullName | Yes | Employee display name |
| title | No, recommended | Role shown on the employee profile and chart |
| external_manager_id | No, recommended for hierarchy | External ID of the direct manager |
The sample rows below show the same four-field shape with illustrative data:
| external_employee_id | fullName | title | external_manager_id |
|---|---|---|---|
| CEO001 | Sarah Chen | CEO | |
| ENG001 | James Okafor | VP Engineering | CEO001 |
| MKT001 | Maria Lopez | VP Marketing | CEO001 |
| ENG002 | Dev Patel | Senior Engineer | ENG001 |
| ENG003 | Aisha Williams | Engineer | ENG001 |
Where external_manager_id is supplied, HumanMap resolves it against the matching external_employee_id and builds the reporting relationship. A blank manager ID can represent a top-level person. Review unresolved references and cycles before treating the hierarchy as publishable.
Columns worth adding
The four fields above give you structure. Adding a few more columns gives you a useful org chart:
| Column | Why it matters |
|---|---|
| external_team_id | Assigns employees to teams for filtering and color-coding |
| passions | Captures interests and passions for a searchable team directory |
| description | A short bio or role summary visible on the employee profile |
| picture | URL to a profile photo, so the chart has faces, not just names |
You don’t need all of these on day one. Start with the required fields plus the manager relationship, see the chart appear, then enrich over time. If you want a head start, here’s a ready-to-use CSV template with 20 employees showing the current HumanMap column structure and sample data. Fill in your own team, and you’re ready to import.
Step by Step: Spreadsheet to Org Chart
Here’s how it works:
Step 1: Export from your current system
If you use an HRIS, look for an “Export Employees” or “Download CSV” option, often under Settings or Reports. For the current HumanMap workflow, export at least a unique employee ID and full name; include title and each person’s manager ID when the goal is a reporting tree.
If your data lives in a Google Sheet or Excel file, save it as a CSV (File > Download > Comma Separated Values).
Tip: Clean up any blank rows or merged cells before exporting. CSV imports expect one row per employee, no exceptions.
Step 2: Verify the manager column
Column validation is where most imports go wrong. Check that:
- Every employee who should sit below another person has a manager ID; a file may contain more than one top-level person if that is intentional
- Every manager ID matches an actual employee ID in the same file
- There are no circular references (A reports to B, B reports to A)
A quick way to check: sort by the manager ID column. Every non-blank value should also appear in the employee ID column. If not, you have an unresolved reference. HumanMap can surface unresolved manager or team references as warnings, so treat those warnings as a review blocker before sharing the chart.
Step 3: Import
Upload the CSV. HumanMap’s wizard maps headers, validates the required fields, previews create/update/delete operations, and then generates the tree. Test the process with a small sample first, then import the full file once the mapping and validation result are correct.
Step 4: Review and adjust
Scan the generated chart for obvious errors:
- Is the CEO at the top with no manager?
- Are departments grouped correctly?
- Do the reporting lines look right for the teams you know well?
If something looks off, check the CSV first, then review the validation result before importing. Duplicate external employee IDs and circular manager references should be treated as blocking errors; unresolved manager or team references may appear as warnings. Different tools handle invalid rows and partial updates differently.
Step 5: Enrich (optional, ongoing)
Once the structure is right, you can add profile details: photos, skills, interests, contact info. Some tools let employees fill in their own profiles, which means HR doesn’t carry the maintenance burden alone.
After the First Import
Your first import gives you a baseline. The second one is where the maintenance workflow becomes visible.
When someone joins, leaves, or changes roles, you should not need to redraw a diagram if the chosen tool supports key-based re-imports. Update the spreadsheet (or re-export from your HRIS), run a small test, and confirm how the tool matches IDs, applies changes, and handles removed records before relying on the workflow. In HumanMap, the review flow keeps missing employees unless the delete-orphans option is explicitly enabled; preview that destructive change before confirming it.
For a quarterly board update, a re-import can be more repeatable than rebuilding a diagram, but verify the result before sharing it. The published chart is only as current as the source file and the review step.
And because the chart is data-driven, you can create multiple views from the same import: one for the board showing leadership structure, one for employees showing their team and neighbors, one for hiring showing open positions. One dataset, many outputs.
Common Pitfalls (and How to Avoid Them)
“My HRIS export has too many columns.” The required fields plus a manager relationship are enough to test a hierarchy in HumanMap. Some import tools let you map columns during upload; keep the rest in the source file until you confirm what the workflow ignores or stores.
“Some people have two managers.” Matrix structures are tricky. For the import, pick the primary (solid-line) reporting relationship. Dotted-line relationships can be added as a second layer after import.
“We have contractors and part-time employees.” Decide whether the audience needs them, then include them if appropriate. You can keep a “type” column (Full-time, Part-time, Contractor) in your source sheet to plan who belongs in the chart. HumanMap does not map employment type in its current employee import, so this column will not enable employment-type filtering after import. If you need a subset, copy the chosen records into a separate export table and inspect the resulting CSV; hiding rows in the source is not enough. Check that every included manager reference still resolves. Excluding people without documenting the rule can create an incomplete picture.
“Our data is messy.” It often is. Do not wait for perfect data. Import a small sample, record what breaks, and fix it iteratively. A tested, maintainable workflow is more useful than a polished diagram that goes stale after the next change.
Checklist
Your five-step plan to get your org chart out of PowerPoint:
- Export your current employee list as a CSV (or create one from your Google Sheet)
- Ensure every row has the current HumanMap required fields: external_employee_id and fullName; add title and manager ID for a reporting tree
- Clean orphan records: every manager ID must match an employee ID in the file
- Import into HumanMap or another compatible tool, then verify the current plan, sharing limits, and handling of invalid rows
- Share the result with your team and ask for corrections; team review gives you another check on the source data
Try it with a copy of your existing spreadsheet. The result will show whether a data-connected workflow is a better fit than another manual diagram.
Use this today
Complete a clean import in one short working session
Leave the exercise with a validated employee file with no orphaned manager links.
- 01
Copy the CSV template and replace the sample rows with one row per person. Keep the employee ID stable even when a title or team changes.
- 02
Check that every manager ID points to an employee ID in the same file. Leave the top-level person blank and remove blank rows or merged cells.
- 03
Import the file and ask one manager from each major team to verify the result. Keep a small correction list instead of fixing the diagram by hand.
- 04
Add profile context only after the hierarchy is correct. Choose fields based on questions employees already ask.
Pass / fail check
A file is ready when every non-top-level employee has a valid manager, the team leads confirm the tree, and the next update can be made in the source file.
Questions readers ask most